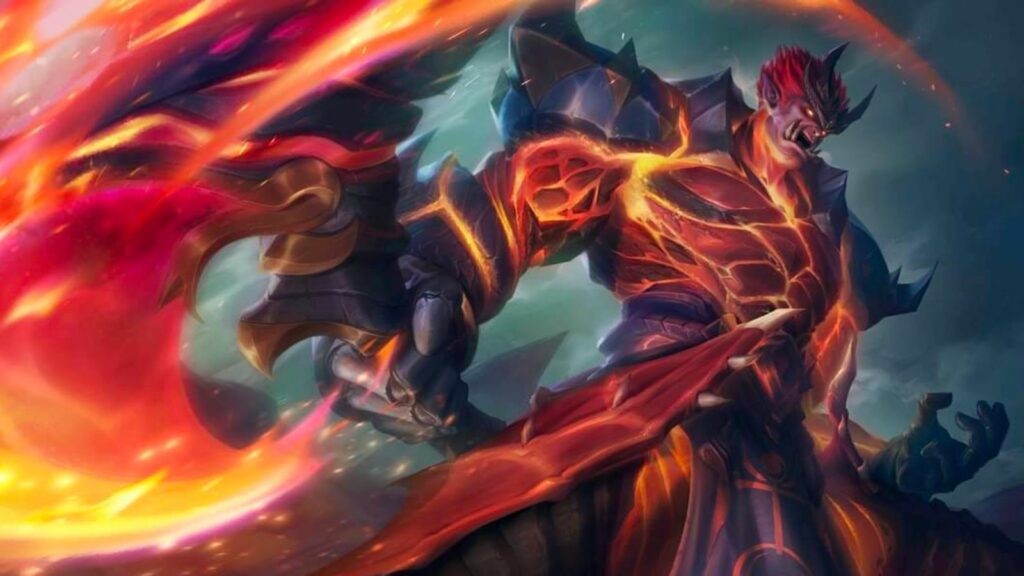
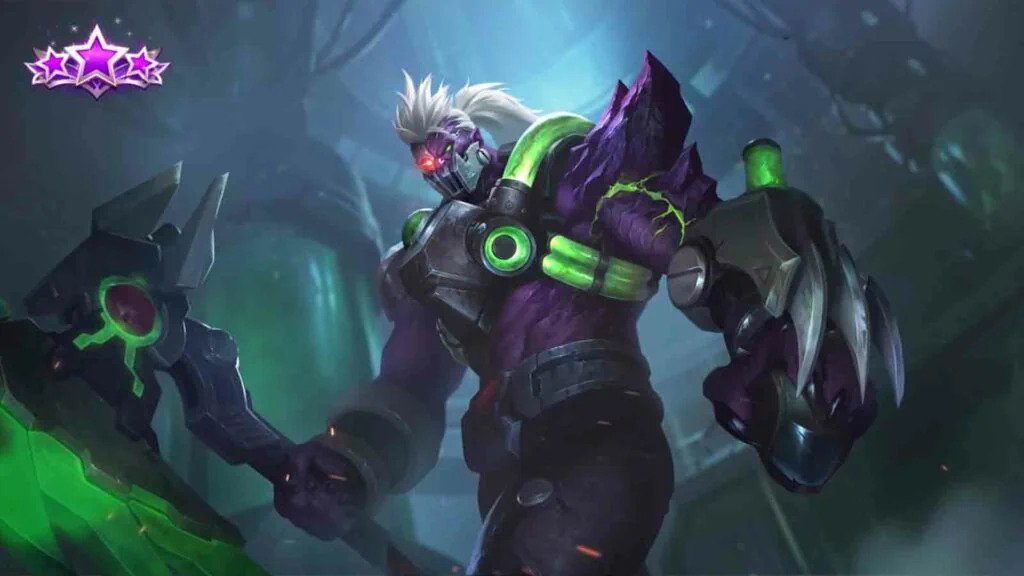
Balmond: The Mighty Berserker of the North – Tips, Blunders, and My Best Build in Mobile Legends

JAKARTA, nintendotimes.com – Balmond, the fearsome berserker hailing from the frozen tundras, is one of Mobile Legends’ most durable fighters. With sustain, area-of-effect damage, and a game-changing ultimate, he can solo tanks, control teamfights, and split-push like a boss. But raw tankiness alone won’t win you matches—mastering Balmond demands understanding his cooldowns, positioning in skirmishes, and proper itemization. In this guide, I’ll share essential tips, highlight common blunders, and reveal my go-to build to dominate the battlefield.
1. Why Play Balmond?

- High Sustain: Lifesteal built into his skills and passive lets him stay in fights.
- Waveclear & Split-Push: His spin and blade wave clear minion waves quickly.
- Teamfight Impact: Bloodthirsty Axe zones enemies; Berserker Rage locks down priority targets.
- Beginner-Friendly: Simple kit with clear engage/disengage windows.
2. Understanding Balmond’s Kit
| Skill | Description |
|---|---|
| Passive: Bloodthirst | Every few seconds, Balmond’s next basic attack deals bonus damage and restores HP based on damage dealt. |
| Skill 1: Soul Lock | Throws an axe in a cone, dealing physical damage. If it hits an enemy, Balmond can recast to dash to the target and reset his basic attack. |
| Skill 2: Bloodthirsty Axe | Spins his axe around him, dealing physical damage per second to nearby enemies and slowing them. Bonus lifesteal applies. |
| Ultimate: Berserker Rage | Balmond enters a berserk state, gaining physical lifesteal and movement speed while dealing AoE damage. Duration scales with missing HP. |
3. Pro Tips to Maximize Balmond
- Axe Management
- Always try to hit Skill 1’s axe on minions or jungle monsters to shorten the cooldown.
- In skirmishes, use the dash recast to reposition or chase down fleeing enemies.
- Timing Your Spin
- Activate Bloodthirsty Axe when multiple enemies or minion waves are nearby for optimal sustain and clear.
- Don’t spin when you lack Fury passive—you might miss out on a big heal.
- Smart Ult Usage
- Cast Berserker Rage when you’re below 50% HP to maximize duration.
- Use it to dive squishies or peel for your backline—positioning is key.
- Objective Control
- Balmond’s spin shreds Lord and Turtle quickly—secure objectives when your team is nearby.
- Zone out opponents with your ultimate’s aura to deny them damage.
- Map Awareness
- In the side-lane, use bushes to ambush enemies with Soul Lock dash.
- Rotate early to teamfights once your core items are completed.
4. Common Blunders to Avoid
- Over-Spinning Early: Spinning at level 2/3 without Fury can leave you vulnerable and useless in ganks.
- Wasting Ultimate on Tanks: Your ult shines against squishy backliners—don’t burn it on high-armor frontliners.
- Tunnel Visioning: Don’t chase a lone kill into the enemy jungle; you might get collapsed on.
- Ignoring Cooldowns: All of Balmond’s damage comes from abilities—fighting when they’re down turns you into a slow meat shield.
5. My Best Build for Balmond
Core Items
- Warrior Boots / Tough Boots
- Warrior Boots against physical-heavy comps; Tough Boots vs. high CC and magic.
- Blade of Despair
- Massive physical attack spike to burst squishies.
- Queen’s Wings
- Damage reduction and lifesteal amp at low HP—perfect for clutch survivability.
- Haas’s Claws
- Amplifies lifesteal, synergizes with his spinning and ultimate.
- Dominance Ice
- Reduces enemy attack speed & shields—great against lifesteal and crit comps.
- Immortality
- Second chance in late-game teamfights; buyback potential.
Situational Items
- Antique Cuirass: Versus heavy AD carries
- Brute Force Breastplate: Extra mobility and stacking stats
- Oracle: Bonus healing for double sustain
6. Emblem & Battle Spell
- Emblem: Fighter Emblem
• Talent Path: Brutal → Inspire → Carnivore (+20% Lifesteal on low HP) - Battle Spell:
• Retribution (for Jungle Balmond) – faster clear & invades
• Flicker / Execute (for Solo Lane Balmond) – unexpected engages or kill secure
7. Matchups: Counters & Favorables
- Tough Matchups:
• Chou – knock-ups interrupt your ult and dash.
• Khufra – displacement shuts down your spin and ult.
• Aldous – stacks HP and outscales you in 1v1s. - Easy Matchups:
• Layla/Miya – squishy marksmen with limited escape.
• Zilong – you can out-sustain and outspin his relentless dive.
• Alpha – you outlast his lifesteal with superior spin sustain.
8. Early, Mid, and Late-Game Play
- Early Game (Lv 1–4):
• Focus on farming: auto-attack last-hits, use Soul Lock to dash for creep kills.
• Trade only when Fury passive is ready. - Mid Game (Lv 5–10):
• Start split-pushing side-lanes; pressure towers with your spin.
• Group for objectives once your second and third items are online. - Late Game (Lv 11+):
• Teamfight presence: flank with Soul Lock, activate ult on high-value targets.
• Secure Lord/Turtle with Bloodthirsty Axe spin and coordinate with your team for zone control.
Conclusion
Balmond is a versatile fighter who can soak damage, clear waves, and dive backlines. By mastering axe management, timing your ult for maximum uptime, and avoiding key blunders, you’ll turn Balmond into an unstoppable force. Pair this guide’s build with smart map rotations and team coordination—and watch the Mighty Berserker of the North demolish anything in his path!
Sharpen Your Skills: Delve into Our Expertise on Gaming
Check Out Our Latest Piece on Carmilla: The Enigmatic Sorceress of the Dark!


