Leomord: The Gallant Knight on a Steed – My Best Tips for Mastering This MLBB Hero
JAKARTA, nintendotimes.com – Okay, so if you’re into Gaming and especially love Mobile Legends, you’ve definitely bumped into Leomord: The Gallant Knight on a Steed. This dude is just epic—like, his entrance on his trusty horse Barbiel is pure adrenaline. I still remember my first match piloting Leomord: The Gallant Knight on a Steed… messy! But hey, let’s talk real tips from someone who’s been there.
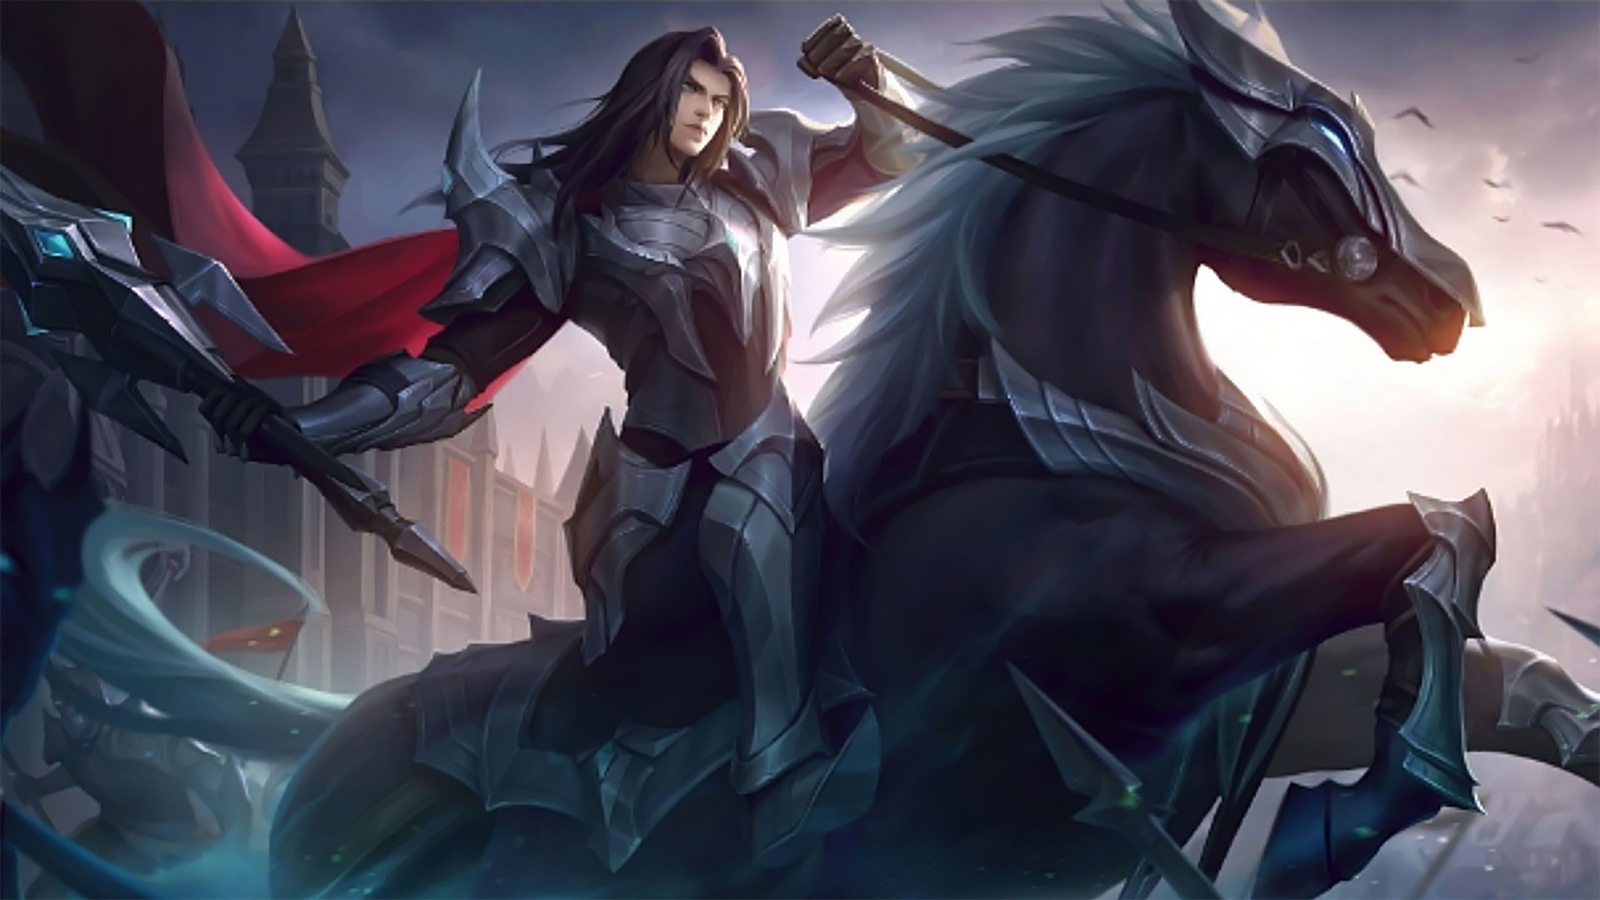
Leomord, the Hell Knight who rides into battle atop his fearsome demonic steed Barbiel, stands as one of Mobile Legends: Bang Bang’s most imposing and versatile fighter heroes. With his unique mounted combat mechanics, devastating area damage, and exceptional durability, Leomord has carved out a special place in the meta as a hero who can dominate lanes, control team fights, and carry games through sheer presence. Whether you’re new to Leomord or looking to refine your skills with this gallant knight, mastering his mechanics and understanding his strategic depth will transform you into an unstoppable force on the battlefield.
Understanding Leomord’s Unique Identity

Leomord distinguishes himself from other fighters through his dual-form gameplay that revolves around summoning and riding Barbiel, his demonic horse. This mechanic creates a hero with two distinct power states—dismounted and mounted—each requiring different tactical approaches. Understanding when and how to utilize each form is fundamental to Leomord mastery, as the transition between states dramatically affects his combat effectiveness, mobility, and threat level.
The Power of the Mount Mechanic
Leomord’s defining feature is his ultimate ability, which summons Barbiel and transforms him from a standard fighter into a mounted juggernaut. When mounted, Leomord gains significantly enhanced basic attacks that deal area damage, increased movement speed, and access to powerful mounted skills. This transformation makes Leomord exceptionally dangerous in team fights, allowing him to cleave through multiple enemies while maintaining high mobility.
The mount mechanic also provides Leomord with a unique form of sustain and comeback potential. Even when dismounted after Barbiel’s health depletes, Leomord can rebuild his ultimate charge and resummon his steed, creating cyclical power spikes throughout extended fights. This resilience makes Leomord particularly effective in prolonged engagements where other heroes might falter.
Leomord’s Skill Breakdown and Mechanics
Passive: Oath of Gallantry
Leomord’s passive enhances his basic attacks after using skills, dealing additional physical damage based on the target’s maximum HP. This passive makes Leomord effective against tanky opponents while rewarding active skill usage. The percentage-based damage ensures Leomord remains threatening throughout all game phases, scaling naturally against increasingly durable enemies.
Maximizing this passive requires weaving basic attacks between skills—a fundamental technique for Leomord players. The enhanced attack applies to both dismounted and mounted forms, though mounted attacks gain additional benefits from their area-of-effect nature, allowing Leomord to proc the passive against multiple enemies simultaneously.
First Skill: Momentum
Momentum causes Leomord to charge forward, dealing physical damage to enemies in his path. When mounted on Barbiel, this skill transforms into a more powerful version with increased damage and a longer dash distance. This skill serves multiple purposes for Leomord: gap-closing, escape, wave clear, and damage output.
The versatility of Momentum makes it essential to Leomord’s kit. Use it to engage vulnerable targets, escape dangerous situations, or quickly rotate between lanes. The cooldown reduction when mounted allows Leomord to use this skill frequently during team fights, maintaining constant pressure and repositioning as needed.
Second Skill: Decimation Assault
Decimation Assault has Leomord swing his weapon in a circular area, dealing physical damage and slowing enemies. When mounted, this skill gains increased range and damage while Barbiel tramples enemies, dealing additional damage. This area-of-effect skill is crucial for Leomord’s wave clear, jungle farming, and team fight presence.
The slow effect makes Decimation Assault valuable for both engaging and peeling. Leomord can use it to prevent enemies from escaping or to protect teammates from pursuing assassins. When mounted, the expanded range turns this skill into a devastating area denial tool that controls significant portions of the battlefield.
Ultimate: Phantom Steed
Leomord’s ultimate summons Barbiel, his demonic steed, which has its own health bar and dramatically enhances Leomord’s combat capabilities. While mounted, Leomord’s basic attacks become area-of-effect cleaves, his movement speed increases significantly, and his other skills receive substantial upgrades. Barbiel remains until its health depletes or a set duration expires.
Understanding Barbiel’s health management is crucial for Leomord mastery. The steed’s health bar functions as a secondary health pool, allowing Leomord to absorb damage that would otherwise threaten his own survival. Strategic mounting—choosing optimal moments to summon Barbiel—separates good Leomord players from great ones.
Essential Tips for Mastering Leomord
Early Game Dominance
Leomord excels in the early game due to his strong base damage and wave clear capabilities. Focus on dominating your lane by aggressively clearing waves and harassing opponents. Leomord’s sustain through spell vamp items and his passive’s percentage damage allow him to trade favorably against most solo laners.
Prioritize reaching level four quickly to unlock your ultimate. Once Leomord gains access to Barbiel, his kill pressure increases dramatically. Coordinate with your jungler for ganks, as mounted Leomord can easily secure kills against overextended enemies. Early kills and tower pressure establish the snowball potential that carries Leomord through mid and late game.
Mastering Mount Management
The key to Leomord mastery lies in understanding when to summon Barbiel and how to maximize mounted uptime. Don’t waste your ultimate for simple wave clear or minor skirmishes—save it for meaningful fights where the mounted power spike provides decisive advantages. However, don’t be overly conservative either; Leomord’s ultimate has a reasonable cooldown that allows for multiple uses during extended objective contests.
When mounted, position aggressively to maximize your area-of-effect damage output. Leomord’s cleaving attacks allow him to damage entire enemy teams simultaneously, making proper positioning crucial for team fight impact. Stay mobile, constantly repositioning to hit multiple targets while avoiding concentrated enemy fire that might dismount you prematurely.
Optimal Skill Rotation
Leomord’s standard combo when dismounted involves using Decimation Assault for damage and slow, following with a basic attack to proc your passive, then using Momentum to either chase or escape depending on the situation. When you have ultimate available and commit to a fight, activate Phantom Steed first to gain the mounted bonuses before using your other skills.
When mounted, Leomord’s rotation becomes more fluid and aggressive. Lead with Momentum to gap-close or engage, immediately follow with Decimation Assault to maximize area damage, then continue with enhanced basic attacks while skills cooldown. The reduced cooldowns when mounted allow Leomord to cycle through skills multiple times during extended engagements.
Positioning and Target Selection
Leomord functions best as a frontline fighter who dives into enemy formations while mounted, disrupting backlines and dealing massive area damage. However, mindless diving leads to quick deaths even for mounted Leomord. Assess enemy crowd control and burst damage before committing—wait for key enemy abilities to be used on teammates before mounting and engaging.
Target selection for Leomord depends on team composition and enemy positioning. When possible, position yourself to hit multiple enemies with your area attacks rather than focusing single targets. However, if enemy carries are isolated and vulnerable, Leomord has sufficient mobility and damage to eliminate them quickly before returning to frontline duties.
Wave Management and Farming
Efficient farming is crucial for Leomord’s success, as he requires core items to reach his power spikes. Use Decimation Assault to quickly clear waves, allowing you to rotate to jungle camps or other lanes. Leomord’s fast clear speed enables him to maintain farm advantages over opponents while applying pressure across the map.
Don’t neglect jungle camps between waves. Leomord clears jungle efficiently, and the additional gold and experience accelerate your item progression. When your lane is pushed and enemy locations are unknown, taking nearby jungle camps provides safe farming opportunities while maintaining map presence.
Building the Perfect Leomord
Core Item Recommendations
Leomord’s item build should prioritize physical damage, cooldown reduction, and durability. Start with tier-one boots and basic damage items, then build toward your core items. Bloodlust Axe serves as an excellent first core item, providing spell vamp that significantly enhances Leomord’s sustain, along with cooldown reduction and physical attack.
Black Ice Shield is another crucial item for Leomord, offering physical defense, mana, cooldown reduction, and a shield passive that enhances survivability. The mana solves Leomord’s resource issues while the defense allows him to frontline effectively. The shield passive synergizes perfectly with Leomord’s aggressive playstyle, providing additional protection during dives.
For damage scaling, items like Hunter Strike, Blade of Despair, or Malefic Roar enhance Leomord’s offensive capabilities. Hunter Strike provides movement speed and penetration along with damage, improving both Leomord’s mobility and damage output. Blade of Despair offers massive damage increases, particularly effective when executing low-health targets. Malefic Roar’s percentage penetration becomes valuable against tanky team compositions.
Defensive Itemization
Leomord requires defensive items to survive frontline engagements and maximize mounted uptime. Antique Cuirass reduces enemy physical damage while providing HP and defense, making it excellent against physical-heavy teams. Athena’s Shield offers magic defense and a regenerating shield, protecting Leomord from burst mages.
Immortality serves as a strong late-game option for Leomord, providing a second life that allows him to continue fighting after initial burst damage. The resurrection passive is particularly valuable during crucial team fights around objectives where Leomord’s continued presence determines outcomes.
Boots Selection
Warrior Boots are the standard choice for Leomord, providing physical defense and reducing basic attack damage from enemy marksmen and fighters. The defensive stats help Leomord survive frontline duty while the movement speed facilitates rotations and engagements.
Against magic-heavy compositions, Tough Boots offer magic defense and crowd control reduction, helping Leomord resist disables that prevent him from executing his role. The tenacity effect is particularly valuable against teams with multiple stuns or slows that could dismount and eliminate you.
Emblem and Battle Spell Selection
The Fighter emblem with Festival of Blood talent is ideal for Leomord, providing spell vamp that stacks with item-based lifesteal for exceptional sustain. The additional physical attack and penetration from emblem configuration enhance Leomord’s damage output throughout the game.
For battle spells, Vengeance is highly effective on Leomord, reflecting damage back to attackers while reducing incoming damage. This spell synergizes with Leomord’s frontline role, punishing enemies who focus you while increasing your effective durability. Execute provides an alternative option, offering additional kill pressure and true damage that helps Leomord secure eliminations on low-health targets.
Advanced Leomord Strategies
The Dismount Bait Technique
Experienced Leomord players use intentional dismounting as a tactical tool. When Barbiel’s health is low, position aggressively to bait enemies into committing resources to finish the mount. As they focus on dismounting you, your team can capitalize on their mispositioned state or wasted abilities. Once dismounted, Leomord remains dangerous with his base kit while his ultimate cooldown ticks down for remounting.
This advanced technique requires careful health monitoring and awareness of enemy capabilities. The goal is making enemies invest significant resources into dismounting you without actually dying, creating advantageous trades for your team while you rebuild ultimate charge for remounting.
Split-Push Pressure
Leomord excels at split-pushing due to his strong dueling potential, fast wave clear, and mobility. When your team lacks clear engage opportunities, applying side-lane pressure forces enemy responses and creates map advantages. Mounted Leomord can quickly clear waves and threaten towers while maintaining escape potential through Momentum.
Effective split-pushing with Leomord requires constant map awareness. Monitor enemy positions and be prepared to either continue pushing when they’re occupied elsewhere or join your team if major fights develop. Leomord’s teleport potential through rapid rotation makes him effective at applying pressure then joining crucial team fights.
Objective Control and Team Fighting
Leomord provides excellent objective control through his area damage and sustained fighting capability. When contesting Lord or Turtle, mounted Leomord can zone enemies while dealing significant damage to objectives. His presence forces enemies to either commit to fighting or concede objectives, creating strategic advantages.
In team fights, Leomord functions as a disruptive frontliner who creates chaos in enemy formations. Dive into grouped enemies when mounted, using your area attacks to damage multiple targets while absorbing enemy abilities. Your presence forces enemies to either focus you—allowing your carries to deal free damage—or ignore you and suffer your sustained area damage.
Comeback Mechanics
Leomord possesses strong comeback potential through his mount mechanic and scaling. Even when behind, a well-timed ultimate and proper positioning in team fights allows Leomord to impact outcomes significantly. Focus on safe farming to reach core items, then look for opportunities to join fights where your area damage and frontline presence swing momentum.
Defensive itemization becomes more important when playing from behind. Prioritize survivability to ensure you can reach fights and contribute before being eliminated. Leomord’s percentage-based passive damage remains relevant even when behind in gold, allowing you to threaten tanky enemies regardless of item disadvantages.
Common Leomord Mistakes to Avoid
Premature Ultimate Usage
Many Leomord players waste their ultimate on minor skirmishes or for simple wave clear, leaving them vulnerable during important fights. Reserve Phantom Steed for meaningful engagements where the mounted power spike provides decisive advantages. Learning to recognize when fights matter separates effective Leomord players from ineffective ones.
Poor Barbiel Health Management
Allowing Barbiel to take unnecessary damage shortens your mounted duration and reduces your impact. While mounted, avoid tanking excessive damage from towers, jungle monsters, or poke damage when fights aren’t imminent. Preserve Barbiel’s health for actual combat where the mounted bonuses provide maximum value.
Neglecting Farm Priority
Leomord requires items to reach his power spikes, yet some players spend too much time roaming without securing farm. Balance aggression with farming efficiency—clear your waves quickly, take nearby jungle camps, then look for opportunities to impact other lanes. Consistent farming ensures you reach core items at appropriate timings.
Ignoring Team Composition
Leomord works best in compositions that provide follow-up damage and crowd control. Blindly picking Leomord into unfavorable matchups or team compositions limits your effectiveness. Consider enemy crowd control, burst damage, and kiting potential before locking Leomord. Against teams with excessive disables or mobility, Leomord may struggle to execute his role effectively.
Matchup Knowledge and Counters
Favorable Matchups
Leomord performs well against immobile fighters and tanks who can’t escape his sustained damage. Heroes like Balmond, Alucard, or Freya struggle against Leomord’s area damage and durability. Use your mounted mobility to kite melee-range opponents while dealing consistent damage through enhanced basic attacks.
Against squishy mages and marksmen, Leomord provides excellent dive potential. Once mounted, you can quickly close gaps and eliminate vulnerable targets before they can kite effectively. Your area damage also threatens grouped enemies, making Leomord effective against teams that cluster together.
Difficult Matchups
Leomord struggles against heroes with strong kiting potential or crowd control that prevents him from reaching targets. Heroes like Wanwan, Beatrix, or Pharsa can maintain distance while dealing damage, making it difficult for Leomord to engage effectively. Against these matchups, patience and coordination with teammates become essential.
Burst mages with crowd control, such as Eudora or Aurora, can lock down and eliminate Leomord before he executes his combo. Build magic defense early in these matchups and avoid isolated encounters where you lack team support. Wait for enemies to use key abilities on teammates before mounting and engaging.
Conclusion
Leomord, the Gallant Knight on a Steed, offers Mobile Legends players a unique and powerful fighter experience that rewards mechanical skill, strategic thinking, and aggressive playmaking. From mastering the mount mechanic to optimizing item builds, from dominating lanes to controlling team fights, Leomord provides depth and versatility that keeps gameplay engaging and impactful.
Success with Leomord requires understanding his dual-form nature, managing Barbiel’s health effectively, and positioning aggressively while mounted to maximize area damage. By implementing the tips, strategies, and techniques outlined in this guide, you’ll transform from a basic Leomord player into a master of mounted combat who dominates battlefields and carries teams to victory.
Whether you’re charging into enemy lines atop Barbiel, cleaving through multiple opponents with enhanced attacks, or applying relentless split-push pressure, Leomord rewards players who embrace his aggressive, frontline playstyle. Mount up, ride into battle, and show the Land of Dawn why Leomord remains one of the most formidable and respected fighters in Mobile Legends: Bang Bang.
Sharpen Your Skills: Delve into Our Expertise on Gaming
Check Out Our Latest Piece on Kaja: The Guardian of the Skies!


