If you’ve ever dreamed of creating your own role-playing games (RPGs), RPG Maker is a fantastic tool that allows you to turn your ideas into reality without needing extensive programming knowledge. This powerful software has been a gateway for many aspiring game developers, enabling them to craft unique stories, characters, and worlds. In this article, I’ll share my journey from a beginner to a more experienced RPG Maker user, along with essential tips to help you create your own RPGs effectively.
What is RPG Maker?
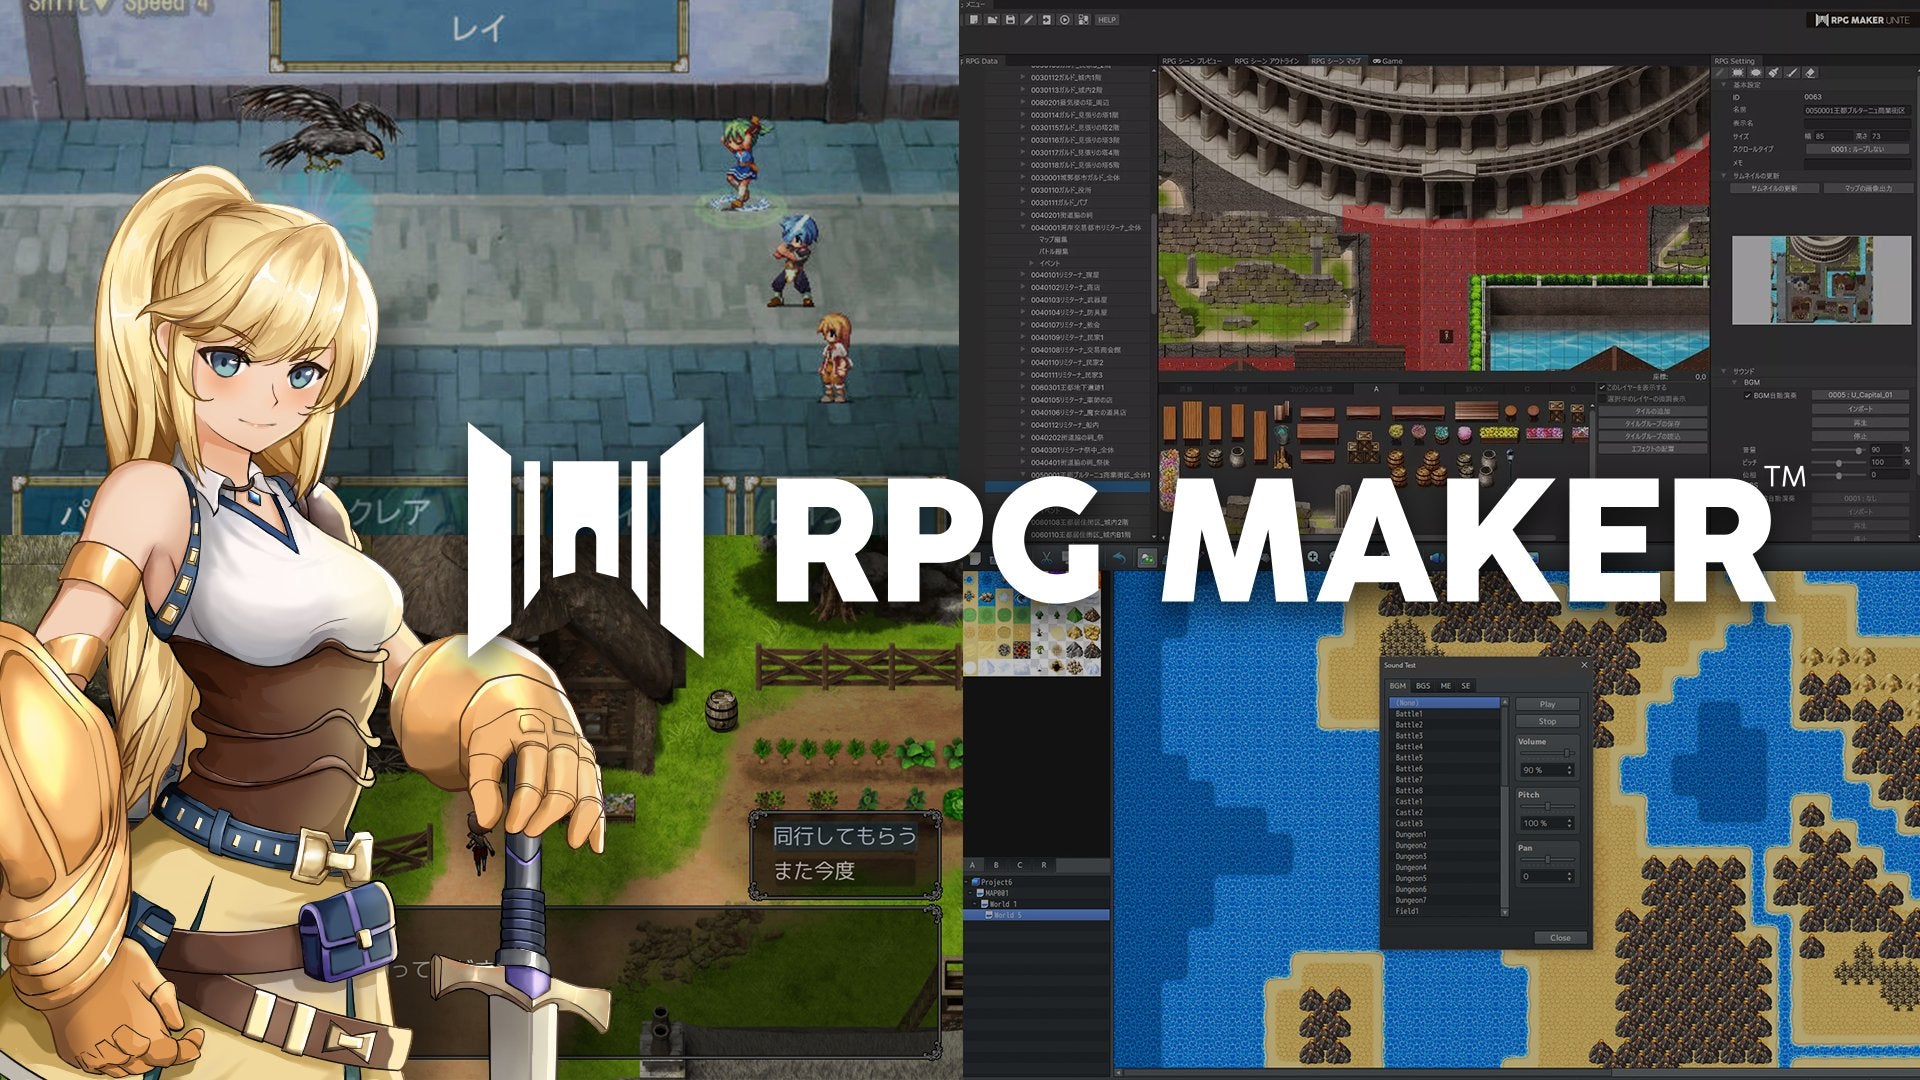
RPG Maker is a game development platform designed specifically for creating 2D role-playing games. It provides an intuitive interface that allows users to design maps, create characters, write dialogue, and implement gameplay mechanics using a straightforward event system. With various versions available, such as RPG Maker MV and RPG Maker MZ, the software has evolved to include enhanced features, improved graphics, and better performance.
My Journey: From Noob to Pro
Starting Out: The Learning Curve
When I first discovered RPG Maker, I was excited but also overwhelmed. The interface was packed with options, and I often found myself unsure of where to begin. Here’s how I navigated the initial learning curve:
- Tutorials and Resources: I began by watching tutorials on YouTube and reading guides from the RPG Maker community. Websites like RPG Maker Web and forums were invaluable for finding tips and tricks.
- Experimentation: The best way to learn was by doing. I created small projects to test different features, such as mapping, event creation, and character design. This hands-on approach helped me understand how everything worked together.
- Join the Community: Engaging with the RPG Maker community was crucial. I joined forums and Discord servers where I could ask questions, share my progress, and receive feedback from more experienced developers.
Developing My First Game
After gaining some confidence, I decided to create my first RPG. Here’s how I approached the development process:
- Conceptualization: I started by brainstorming my game’s story, setting, and characters. I wrote a simple outline to guide my development.
- Map Design: Using RPG Maker’s tile-based mapping system, I created the game world. I focused on making diverse environments, such as towns, dungeons, and forests, to enhance exploration.
- Character Creation: I designed my characters using the built-in character generator. I paid attention to their backstories and motivations, which helped shape the narrative.
- Eventing: I learned to use the event system to create interactions, quests, and battles. This was one of the most challenging aspects, but also the most rewarding as I saw my game come to life.
- Playtesting: Once I had a playable version, I invited friends to test it. Their feedback was invaluable for identifying bugs and improving gameplay mechanics.
Refining My Skills
As I continued to develop games, I focused on refining my skills in various areas:
- Storytelling: I read books on narrative design and studied other RPGs to understand how to create engaging plots and character arcs.
- Graphics and Music: I experimented with custom graphics and music to give my games a unique feel. Resources like OpenGameArt and Free Music Archive provided great assets to enhance my projects.
- Scripting: I delved into RPG Maker’s scripting capabilities using JavaScript, which allowed me to implement more complex game mechanics and features.
Essential Tips for Using RPG Maker
To help you on your journey, here are some essential tips for creating your own RPGs using RPG Maker:
1. Start Small
Begin with a simple project to avoid feeling overwhelmed. Focus on creating a short game or a single chapter to practice your skills before tackling larger projects.
2. Plan Your Game
Take the time to outline your story, characters, and gameplay mechanics before diving into development. A clear plan will help you stay organized and focused.
3. Utilize Resources
Make use of the vast resources available online, including tutorials, forums, and asset libraries. The RPG Maker community is supportive and full of helpful information.
4. Iterate and Improve
Don’t be afraid to revisit and revise your game. Playtest regularly and gather feedback to identify areas for improvement. Iteration is key to creating a polished final product.
5. Experiment with Mechanics
Try out different gameplay mechanics and features to find what works best for your game. RPG Maker allows for a lot of creativity, so don’t hesitate to think outside the box.
6. Focus on User Experience
Consider the player’s experience when designing your game. Ensure that controls are intuitive, the pacing is engaging, and the story is compelling.
7. Stay Inspired
Draw inspiration from your favorite games, books, and movies. Analyze what makes them enjoyable and incorporate those elements into your own work.
Conclusion
RPG Maker has been a transformative tool in my journey as a game developer, allowing me to bring my creative visions to life. From my initial struggles as a beginner to becoming more proficient in game design, I’ve learned that persistence, experimentation, and community engagement are crucial to success. By following the tips outlined in this article, you can embark on your own RPG-making adventure and create games that resonate with players. So grab your copy of RPG Maker, unleash your creativity, and start crafting your unique role-playing experiences!