Hayabusa: The Shadow Ninja of the Night – My Tips, Fails, and Winning Playstyle Revealed
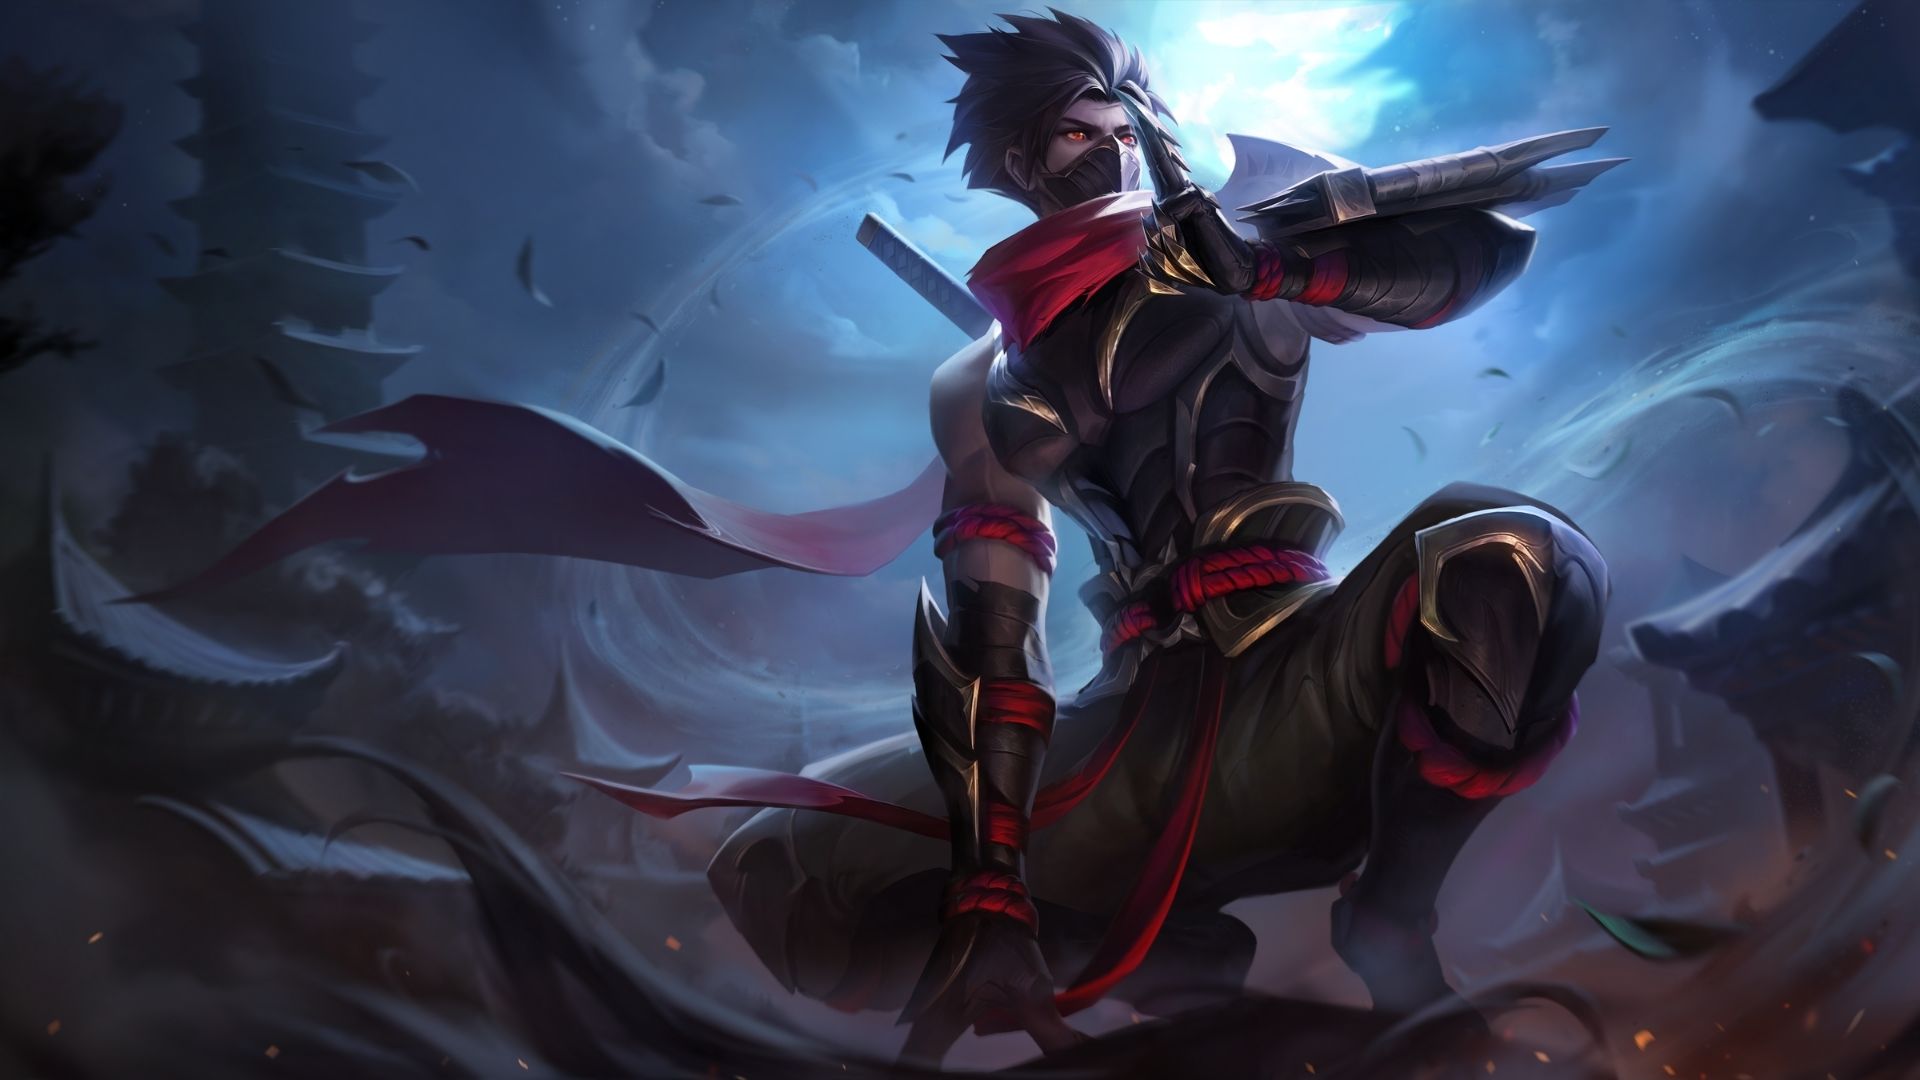
JAKARTA, nintendotimes.com – Hayabusa, the Shadow of Iga, is one of Mobile Legends’ most iconic assassins—a master of swift strikes, untargetable mobility, and surgical eliminations. With his shadow clones, teleportation mechanics, and devastating ultimate, Hayabusa can delete squishy targets in seconds while evading counterattacks. Yet mastering Hayabusa demands mechanical precision, map awareness, and split-second decision-making. In this comprehensive guide, I’ll share my hard-earned tips, embarrassing fails, optimal builds, and the winning playstyle that transformed me from a feeding ninja into a feared assassin.
Understanding Hayabusa’s Abilities
Passive – Trace of Shadow
Every time Hayabusa hits an enemy with a skill, he gains a stack. At maximum stacks, his next basic attack deals bonus physical damage.
- Tip: Weave basic attacks between skills to maximize burst damage.
- Combo Integration: Use this passive to finish low-HP enemies after skill rotations.
Skill 1 – Phantom Shuriken
Hayabusa throws three shurikens in a fan shape. Each shuriken that hits creates a shadow that Hayabusa can teleport to.
- Mobility Tool: Creates up to three shadows for escape or chase.
- Farming: Clears jungle camps and minion waves efficiently.
- Vision: Shadows provide brief vision—use them to scout bushes.
- Pro Tip: Aim shurikens to create shadows in strategic positions (over walls, toward escape routes, or near enemies).
Skill 2 – Quad Shadow
Hayabusa dashes forward and creates four shadows that attack nearby enemies. Hayabusa becomes untargetable during the dash.
- Untargetable Frames: Dodge skill shots, tower shots, and ultimates (e.g., Eudora’s stun, Saber’s ultimate).
- Damage Output: Shadows deal significant AOE damage—use in team fights or jungle clear.
- Positioning: Dash through enemies to reposition behind them for ultimate setup.
- Pro Tip: Use Quad Shadow to dodge crowd control, then immediately follow with ultimate.
Ultimate – Ougi: Shadow Kill
Hayabusa becomes untargetable and rapidly strikes a single target multiple times, dealing massive physical damage. Can only target enemy heroes.
- Execution Tool: Deletes squishy mages, marksmen, and supports.
- Untargetable Duration: Immune to all damage and crowd control during the ultimate.
- Cooldown Management: Relatively short cooldown—use aggressively in mid-game.
- Pro Tip: Confirm kills on priority targets; avoid wasting ultimate on tanks or heroes with immortality.
My Winning Playstyle with Hayabusa
Early Game: Farm Fast, Gank Smart
Objective: Reach level 4 quickly to unlock ultimate and start hunting.
- Jungle Route: Red buff → Small camps → Blue buff → Crab → Gank mid/side lanes.
- Prioritize Farm: Hayabusa needs items to snowball; don’t waste time on failed ganks.
- Gank Timing: Wait for enemies to overextend or engage in fights, then teleport in with Phantom Shuriken and execute with ultimate.
- Tip: Use Retribution on large jungle monsters for faster clear and secure objectives.
Mid Game: Assassinate Priority Targets
Objective: Eliminate enemy carries and create numerical advantages for your team.
- Target Selection: Focus on mages and marksmen—heroes without escape or defensive items.
- Combo Execution:
- Phantom Shuriken → Create shadows near target
- Teleport to shadow closest to target
- Quad Shadow → Dash through target for damage and untargetable frames
- Ultimate → Execute
- Teleport back to remaining shadows to escape
- Map Awareness: Watch minimap for isolated enemies farming lanes or jungle.
- Tip: Coordinate with teammates—let tanks initiate, then dive backline when enemies commit skills.
Late Game: Split-Push & Pick-Off
Objective: Apply map pressure, secure objectives, and punish out-of-position enemies.
- Split-Pushing: Use Phantom Shuriken and Quad Shadow to clear waves quickly; teleport away when enemies rotate.
- Objective Control: Steal Lord/Turtle with Retribution; use ultimate on enemy jungler to secure.
- Team Fight Role: Wait for enemies to use crowd control, then dive backline and eliminate carries.
- Escape Mastery: Always keep one Phantom Shuriken shadow available for retreat.
- Tip: Don’t engage first—Hayabusa is a cleanup assassin, not an initiator.
Pro Tips for Dominating with Hayabusa
1. Master Shadow Management
Hayabusa’s Phantom Shuriken shadows are your lifeline—use them strategically:
- Escape Routes: Always throw shurikens toward safe zones before engaging.
- Wall Hops: Create shadows over walls for quick escapes or surprise ganks.
- Vision Control: Use shadows to check bushes before face-checking.
- Cooldown Awareness: Shadows last 5 seconds; plan teleports within this window.
2. Untargetable Frame Mastery
Hayabusa’s Quad Shadow and Ultimate make him untargetable—abuse this mechanic:
- Dodge Ultimates: Time Quad Shadow to avoid Eudora’s stun, Aurora’s freeze, Saber’s ultimate, or Chou’s kick.
- Tower Dive: Use ultimate under enemy tower—you take no damage while untargetable.
- Bait Skills: Engage enemies, force them to use crowd control, then go untargetable and counter-kill.
3. Combo Variations for Different Scenarios
Standard Assassination:
S1 (Phantom Shuriken) → Teleport → S2 (Quad Shadow) → Ultimate → Teleport out
Quick Burst (Low-HP Targets):
S2 (Quad Shadow) → Ultimate → Basic Attack (Passive) → Escape
Safe Poke:
S1 (Phantom Shuriken) → Teleport → Basic Attack → Teleport back
Team Fight Cleanup:
Wait for crowd control to be used → S1 → Teleport to backline → Ultimate priority target → S2 to dodge retaliation → Teleport out
4. Map Awareness & Rotation
- Minimap Obsession: Constantly check minimap for gank opportunities and enemy rotations.
- Invade Enemy Jungle: Steal buffs and camps to starve enemy jungler.
- Counter-Jungling: Use Phantom Shuriken shadows to escape if caught.
- Objective Priority: Rotate to Turtle/Lord when they spawn; secure with Retribution.
5. Itemization Flexibility
Adapt your build based on enemy composition:
- Against Tanky Teams: Build penetration (Hunter Strike, Malefic Roar).
- Against Burst Mages: Get Athena’s Shield or Rose Gold Meteor.
- Snowballing Hard: Rush Blade of Despair for maximum damage.
My Epic Fails & Lessons Learned
Fail 1: Ulting Tanks in Team Fights
Scenario: Panicked during a chaotic team fight and ulted the enemy tank instead of the enemy marksman standing behind him.
Outcome: Wasted ultimate, got crowd-controlled, died instantly.
Lesson: Stay calm, identify priority targets before engaging, and never waste ultimate on tanks or fighters with high HP.
Fail 2: Forgetting to Save Escape Shadows
Scenario: Used all three Phantom Shuriken shadows to chase a kill deep into enemy territory.
Outcome: Got the kill but had no escape route; enemy team collapsed and killed me.
Lesson: Always keep at least one shadow in a safe position before committing to kills. Greed kills assassins.
Fail 3: Face-Checking Bushes Without Vision
Scenario: Walked into a bush to clear a wave, got ambushed by three enemies, and died before I could react.
Outcome: Fed the enemy team and lost map control.
Lesson: Use Phantom Shuriken to scout bushes before entering. Vision saves lives.
Fail 4: Diving Without Tracking Enemy Crowd Control
Scenario: Dove the enemy backline while enemy Tigreal and Chou still had their ultimates ready.
Outcome: Got chain-stunned and deleted before I could go untargetable.
Lesson: Track enemy crowd control cooldowns. Wait for enemies to use key skills before diving.
Fail 5: Ignoring Objectives for Kills
Scenario: Chased kills across the map while enemy team secured Lord and pushed to win.
Outcome: Lost the game despite having good KDA.
Lesson: Objectives win games, not kills. Prioritize Turtle, Lord, and turrets over risky kill chases.
Optimal Build, Emblem & Battle Spell
Core Item Build
- Raptor Machete → Upgrade to Ice Retribution (slow enemies for easier kills)
- Warrior Boots → Physical defense against marksmen and fighters
- Hunter Strike → Cooldown reduction and movement speed for mobility
- Blade of Despair → Massive damage spike for one-shot potential
- Endless Battle → True damage, lifesteal, and movement speed
- Malefic Roar → Armor penetration to shred tanks
Situational Items:
- Athena’s Shield – Against burst mages (Eudora, Aurora)
- Rose Gold Meteor – Shield against magic damage
- Immortality – Second life in late-game team fights
- Wind of Nature – Against heavy physical burst (Lesley, Layla)
Emblem Configuration
Assassin Emblem:
- Tier 1: Bravery (Physical Attack)
- Tier 2: Invasion (Physical Penetration)
- Talent: Killing Spree (Restore HP and gain movement speed on kill—perfect for snowballing)
Alternative Talent:
- High and Dry (Extra damage to isolated targets—ideal for solo picks)
Battle Spell Choices
- Retribution – Essential for jungle clear and objective secure (Ice Retribution for slow)
- Execute – Alternative for aggressive early-game kills (if not jungling)
- Flicker – Extra mobility for escapes or gap-closing (rarely used on Hayabusa)
Advanced Strategies
Split-Push Pressure
- Objective: Force enemies to respond to your push, creating space for your team.
- Execution: Push side lanes with Phantom Shuriken and Quad Shadow; teleport away when enemies rotate.
- Communication: Coordinate with team to take objectives (Lord, turrets) while enemies chase you.
Invade & Counter-Jungle
- Timing: Invade enemy jungle when you spot enemy jungler on opposite side of map.
- Safety: Use Phantom Shuriken shadows as escape routes before stealing camps.
- Psychological Warfare: Starving enemy jungler tilts them and gives your team gold advantage.
Objective Steal Mastery
- Lord/Turtle: Use Phantom Shuriken to create shadows near pit; teleport in, Retribution + Ultimate combo to secure, teleport out.
- Risk Management: Only attempt steals when you have escape shadows ready.
Team Fight Positioning
- Role: Backline assassin—wait for enemies to commit skills, then dive carries.
- Patience: Don’t engage first; let tanks absorb crowd control.
- Target Priority: Mage > Marksman > Support > Fighter > Tank.
Countering Hayabusa’s Counters
Against the Crowd Control Heroes (Chou, Tigreal, Franco)
- Strategy: Bait their skills with Quad Shadow’s untargetable frames.
- Timing: Engage only after they’ve used crowd control on teammates.
Against Tanky Fighters (Balmond, Uranus, Esmeralda)
- Strategy: Avoid fighting them; focus on squishies.
- Itemization: Build penetration (Malefic Roar, Hunter Strike).
Through Vision Heroes (Selena, Natalia)
- Strategy: Use Phantom Shuriken to scout bushes; avoid face-checking.
- Awareness: Watch for Selena’s traps and Natalia’s smoke indicator.
Conclusion
Hayabusa, the Shadow Ninja of the Night, rewards players who master mobility, timing, and target prioritization. By perfecting shadow management, untargetable frame abuse, combo execution, and objective-focused gameplay—while learning from epic fails like ulting tanks or forgetting escape routes—you’ll transform into a lethal assassin capable of carrying games. Embrace the shadows, strike with precision, and let Hayabusa’s blades carve your path to victory!
Sharpen Your Skills: Delve into Our Expertise on Gaming
Check Out Our Latest Piece on Gord: The Arcane Master of Mysteries in Mobile Legends!


